Painting the exterior of your home can feel like a huge project—but with the right techniques and a few smart shortcuts, you can get professional-quality results without the professional price tag. Whether you’re a first-time DIYer or an experienced homeowner looking to improve your process, these 7 exterior painting hacks will help you tackle the job with more confidence, efficiency, and durability.
1. Always start with a clean surface
Before you even think about opening a paint can, make sure your surfaces are completely clean and dry. Use a pressure washer or scrub brush to remove dirt, mildew, flaking paint, and cobwebs. A clean surface allows the new paint to adhere properly—which means better coverage and a longer-lasting finish.
2. Repair and prime problem areas
Don’t skip prep work. Fill cracks, seal gaps, and replace any rotten wood before painting. Spot-prime repaired areas or consider using a paint-and-primer combo for added efficiency. Priming is essential for color consistency and adhesion, especially on raw wood or patched surfaces.
3. Choose the right paint for your climate
Not all exterior paints are created equal. Choose a high-quality, weather-resistant paint formulated for your region—whether it’s high humidity, harsh sunlight, or freeze-thaw cycles. Look for options labeled as 100% acrylic latex for excellent durability, flexibility, and fade resistance.
4. Paint in the right conditions
Avoid painting in direct sunlight, extreme heat, or when rain is in the forecast. Ideal conditions are dry weather, with temperatures between 50°F and 85°F and low humidity. This helps the paint cure evenly and prevents issues like bubbling or streaking.
Check it out: Best Temperature for Exterior House Painting
5. Use a paint sprayer for larger surfaces
If you’re working with siding, fences, or large exterior walls, a paint sprayer can save hours of time and give you a smoother finish than rollers or brushes alone. Just be sure to mask windows, doors, and trim properly—and practice on a scrap surface first.
6. Cut in carefully for crisp edges
Use angled brushes or painter’s tape to “cut in” clean lines where different surfaces meet (like trim and siding). It may take a little longer, but it gives your work a sharp, professional finish that’s worth the effort.
7. Don’t skip the second coat
Even if the first coat looks good, a second coat provides deeper color, added protection, and longer life. Follow the recommended drying time between coats—usually 4 to 6 hours—to avoid peeling or patchiness later.
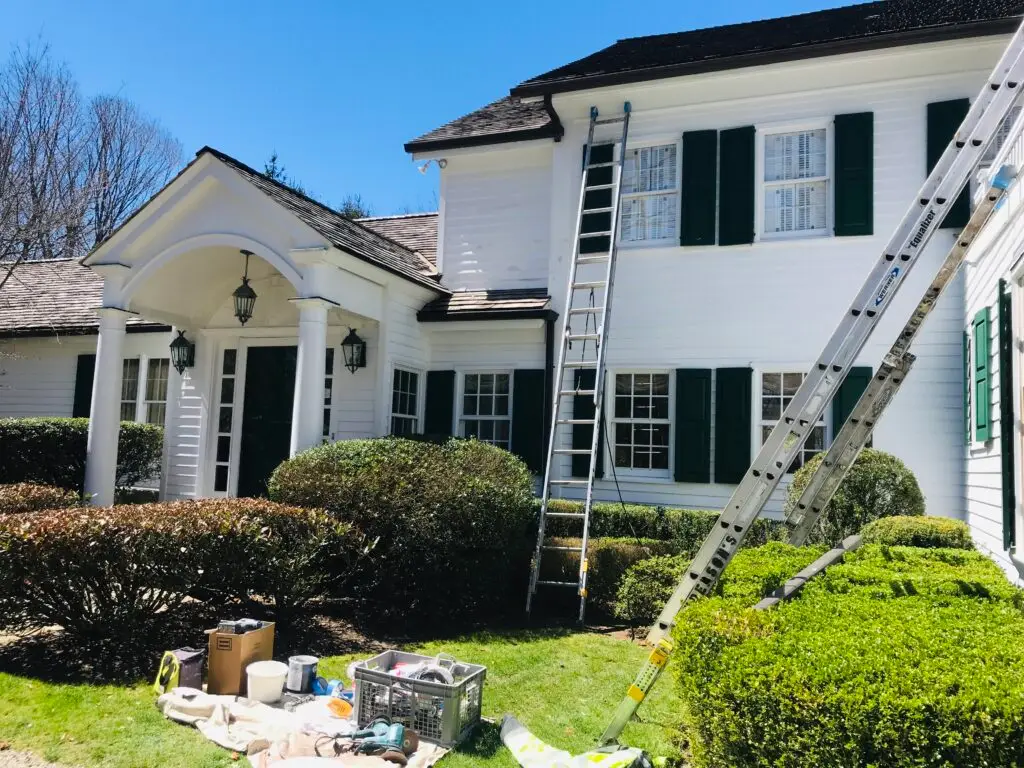
Exterior painting near me with Anderson’s Painting
While DIY painting can be rewarding, nothing compares to the finish, efficiency, and detail of a professional job. At Anderson’s Painting, we specialize in high-quality exterior painting that enhances curb appeal and protects your home from the elements.
With years of experience, premium materials, and a team that treats your home like their own, we deliver flawless, long-lasting results—without the stress or guesswork.
Check it out: Common exterior paint problems and how to fix them