
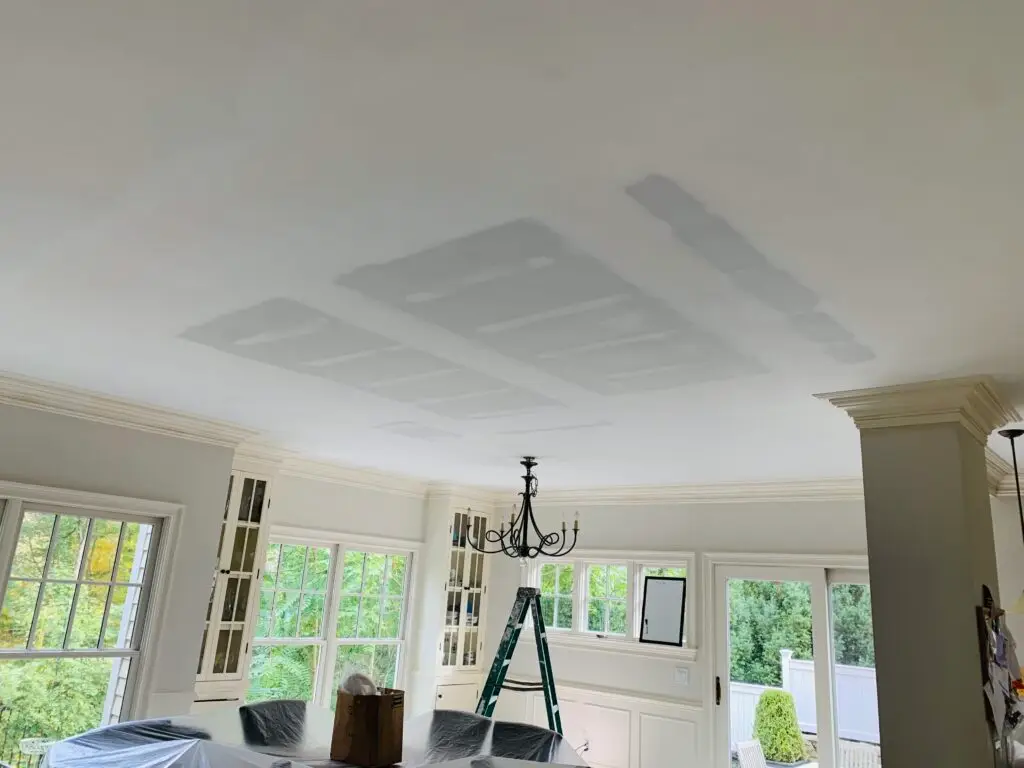
Water damage can be a homeowner’s worst nightmare, leaving behind not just a mess, but a potentially serious problem in your walls. If you’re dealing with water-damaged drywall, it’s crucial to address it promptly to prevent further issues like mold and structural damage. Here’s a step-by-step guide to help you tackle the repair safely and effectively.
Signs of Water-Damaged Drywall
The first step is to correctly identify the damage. Look for these common indicators:
Stains & Discoloration
Water stains are the most obvious sign. These can appear as brown, yellow, or rusty spots on your walls or ceiling, often with a distinct “tide mark” where the water spread.
Soft or Sagging Drywall
If the drywall feels soft, spongy, or sags to the touch, it has absorbed too much water. This loss of structural integrity means the area needs to be replaced.
Musty Odors & Mold Growth
A musty, earthy smell often indicates the presence of mold or mildew. If you see black, green, or white fuzzy spots, it’s a clear sign of a more serious issue.
Safety Precautions Before Starting
Your safety is the top priority. Always take these steps before you begin any repair work.
Identify and Stop Water Source
Do not start the repair until the source of the water leak has been found and fixed. Whether it’s a leaky pipe, a roof issue, or a faulty window seal, you must eliminate the water source to prevent the damage from recurring.
Wear Gloves, Mask, and Goggles
Protect yourself from dust and potential mold spores. Wear a pair of thick gloves, a respirator or face mask, and eye protection.
Step-by-Step Water-Damage Repair
Cutting Out Damaged Section
- Mark the Area: Use a pencil to draw a rectangle around the visibly damaged area. The lines should extend a few inches beyond the stain or soft spot.
- Cut the Drywall: Using a drywall saw or utility knife, carefully cut along the lines you drew. Make sure to cut through the drywall and not into any studs or electrical wiring behind the wall.
Drying the Area Thoroughly
Before you install new drywall, the area behind the wall must be completely dry. Use fans or a dehumidifier to ensure there is no residual moisture. This is critical for preventing mold growth.
Replacing with New Drywall
- Measure and Cut: Measure the hole you cut and use a drywall knife to cut a new piece of drywall to fit snugly in the opening.
- Install: Place the new piece in the hole. If it’s a small patch, you may be able to secure it with drywall clips or scrap wood placed behind the existing wall. For larger pieces, screw the drywall into the nearest studs.
Applying Tape, Mud, Sanding
- Tape and Mud: Cover the seams with self-adhesive mesh tape and apply thin layers of joint compound over the tape. Smooth it out with a putty knife.
- Sand: Allow each layer to dry completely before lightly sanding it. You will likely need two to three layers of compound to create a smooth, seamless finish.
Painting and Finishing
Once the final layer of joint compound is dry and sanded, it’s ready for a final coat. Apply a stain-blocking primer over the patch, followed by two coats of paint that match your wall.
When to Call a Professional
While small repairs are manageable, it’s always best to call a professional for more serious damage.
Extensive Mold Growth
If you find a large patch of mold, it’s a health risk that requires a professional mold remediation service. They have the equipment and expertise to safely remove it.
Structural Water Damage
If the water has affected the studs or other structural elements of your home, a professional is needed to assess and repair the damage correctly.
Prevention Tips
Regular Plumbing Checks
Inspect under your sinks and behind your appliances regularly to catch small leaks before they cause major damage.
Proper Ventilation
In moisture-prone areas like bathrooms, use an exhaust fan or open a window to reduce humidity and prevent moisture from building up on walls and ceilings.
Repairing water-damaged drywall can save your walls and your health. For a perfect, professional finish on your home’s interior, contact Anderson’s Painting today for a free estimate.