A concrete basement floor is often dull and dusty, but with a coat of paint, you can transform it into a clean, protected, and visually appealing surface. Painting is an affordable alternative to more expensive flooring options like tile or carpet, and it offers significant benefits.
Why Paint a Basement Floor
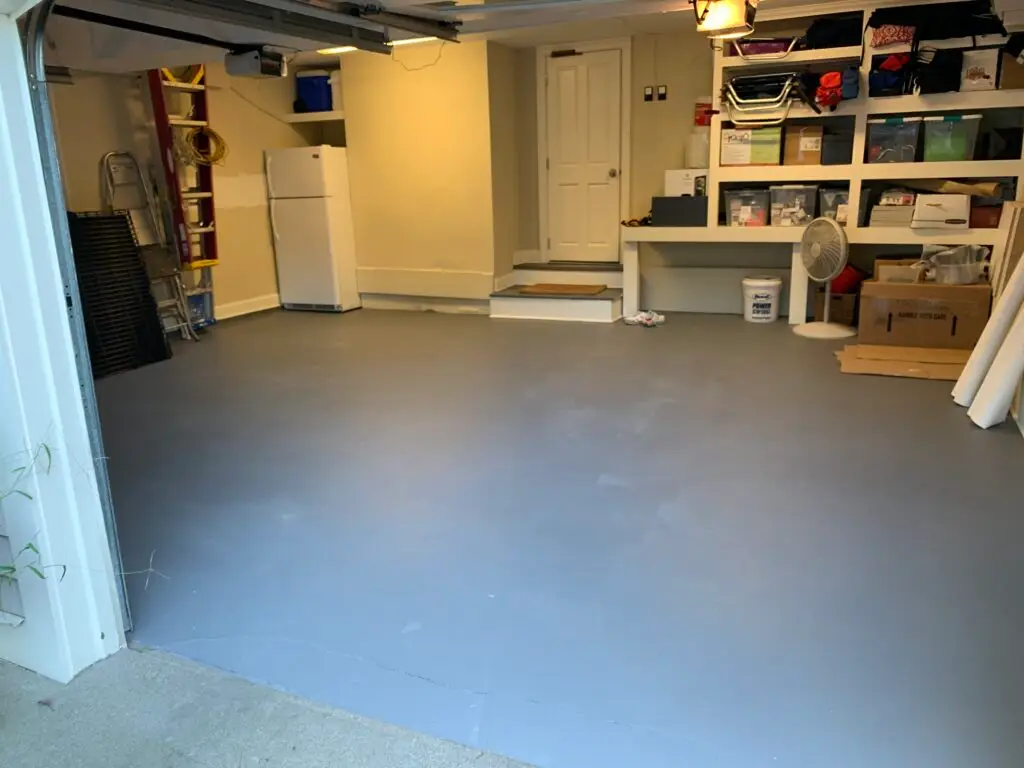
Painting your basement floor isn’t just about aesthetics; it’s a practical choice.
Protection Against Moisture
Concrete is porous, which means it can absorb moisture from the ground. A high-quality paint, especially an epoxy one, acts as a sealant, creating a barrier that helps prevent moisture from seeping through and causing mildew or musty odors.
Improved Appearance & Cleanliness
Painting hides stains and discoloration, giving your basement a uniform, polished look. A sealed, painted surface is also much easier to sweep and mop, making routine cleaning a breeze.
Choosing the Right Floor Paint
Selecting the correct paint is the most critical step for a successful project.
Epoxy vs. Concrete Paint
- Epoxy Paint: This is a two-part system that consists of a resin and a hardener. When mixed, they create a durable, long-lasting, and highly resistant finish. Epoxy is an excellent choice for floors that will see heavy traffic, such as a garage or a workshop, because it resists chemicals and abrasions.
- Concrete Paint: This is a single-component, latex-based paint that’s easier to apply but not as durable as epoxy. It’s a good option for low-traffic areas like a finished basement or a storage room.
Moisture-Resistant Options
No matter which type you choose, ensure it’s specifically formulated for concrete floors and is moisture-resistant. This will give you the best protection against the unique conditions of a basement environment.
Preparing the Basement Floor
Proper preparation is non-negotiable. Skipping these steps will lead to a peeling or bubbling finish.
Cleaning & Degreasing
Start by thoroughly cleaning the floor. Use a degreaser to remove any oil, grease, or stains. A pressure washer is ideal, but a stiff-bristled brush with a cleaning solution will also work.
Repairing Cracks & Sealing
Fill any cracks or holes with a concrete patching compound. Once it’s dry, you may need to apply a concrete sealer if your floor is very porous, as this will prevent the paint from soaking in unevenly.
Moisture Test Before Painting
To check for moisture, tape a 2×2 foot piece of plastic to the floor. Wait 24 hours. If there’s condensation on the underside of the plastic, you have a moisture problem that needs to be addressed before painting.
Step-by-Step Painting Process
Applying Primer
Apply a high-quality primer made for concrete floors. This ensures the paint adheres properly and creates a uniform surface. Use a roller with a long handle for efficiency.
First Coat & Drying Time
Once the primer is dry, apply the first coat of paint. Use a brush to cut in along the edges and a roller for the main floor. Follow the manufacturer’s instructions for drying time; it’s essential to let the first coat dry completely before applying the second.
Applying Second Coat
Apply the second coat in a perpendicular direction to the first. This helps ensure even coverage and a more durable finish.
Tips for a Long-Lasting Finish
Curing Time Before Use
Your paint will be dry to the touch in a few hours, but it needs time to fully cure. Avoid placing heavy furniture or walking on the floor for several days to allow the paint to harden completely.
Adding Non-Slip Additives
For a basement that might get wet, consider adding a non-slip additive to your final coat of paint. This provides traction and makes the floor safer.
Maintenance & Cleaning
Maintain your painted floor by cleaning it with a mild, pH-neutral cleaner. Avoid harsh chemicals that can damage the paint’s finish.
For a professional finish that will last for years, contact Anderson’s Painting today for a free estimate and professional advice.