
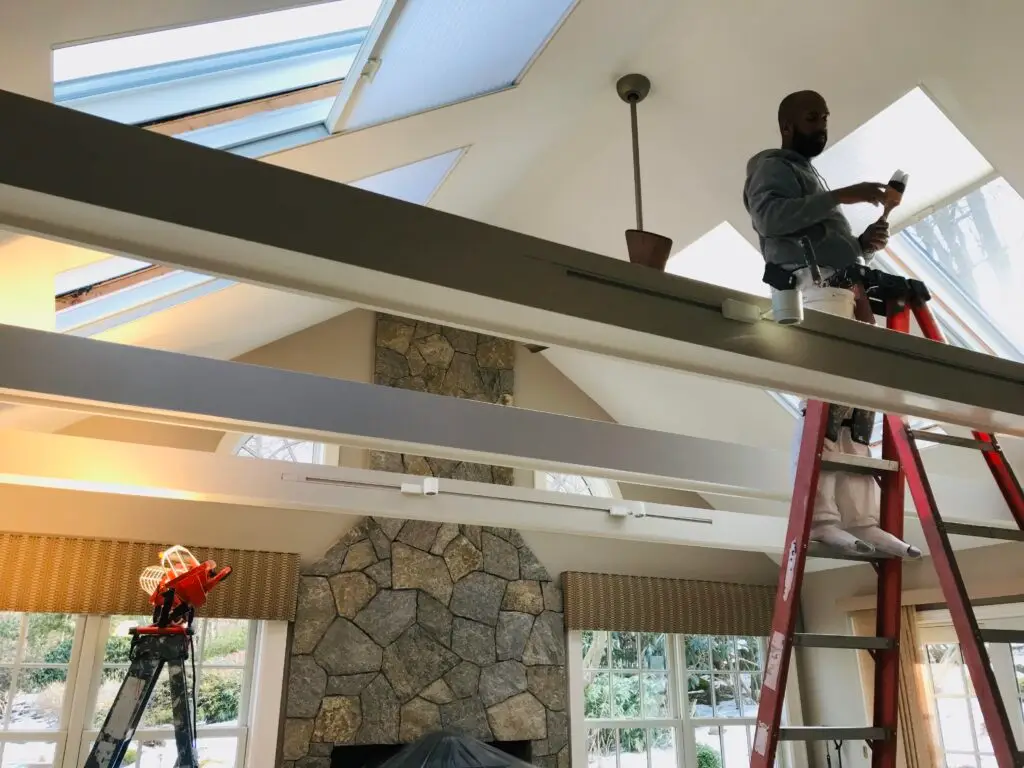
Painting a basement ceiling can completely change the feel of the space, transforming a dark, utilitarian area into a finished and inviting room. While it can seem like a daunting task, especially with exposed pipes and ducts, the right preparation and tools can make the job smooth and efficient.
Why Painting a Basement Ceiling Makes a Difference
Brightening Dark Basements
Basements often lack natural light, making them feel dim and unappealing. Painting the ceiling a light color, particularly white, reflects ambient light and makes the room feel much brighter and more spacious. This is a simple but highly effective way to open up a cramped space.
Concealing Pipes and Wires
An exposed ceiling with a maze of pipes, ducts, and wires can look messy. Painting the entire ceiling a single, dark color helps to conceal these elements, making them recede into the background. This creates a clean, cohesive, and modern look.
Tools & Materials Needed
The right tools are essential for a successful ceiling painting project.
Paint Sprayer vs. Roller & Brush
- Paint Sprayer: This is the most efficient method for a basement with an exposed ceiling. A sprayer can cover pipes and difficult angles quickly and evenly, providing a smooth finish with minimal effort.
- Roller & Brush: While a roller and brush can be used, this method is much more labor-intensive, especially for exposed ceilings. You’ll need to use brushes to get into every crevice, which can be very time-consuming.
Other Tools
You’ll need drop cloths to protect the floor and walls, painter’s tape for masking off any areas you don’t want painted, and a sturdy ladder. It’s also vital to have a mask or respirator, safety goggles, and gloves to protect against paint fumes and particles.
Step-by-Step Painting Process
Cleaning and Prepping the Surface
Before you start, make sure the ceiling is clean. Use a brush or a vacuum to remove all dust, cobwebs, and debris from the ceiling and any exposed elements.
Priming Exposed Ceilings
If your ceiling is unfinished or you’re painting over exposed metal, a primer is a must. A rust-inhibiting primer is recommended for pipes and metal surfaces. This step ensures the paint adheres properly and prevents rust from showing through.
Applying Paint Evenly
If using a sprayer, work in small, controlled sections, maintaining a consistent distance from the surface. Overlap each pass to ensure an even coat. If you’re using a roller and brush, apply a thin, even coat, and use a brush for all the hard-to-reach areas.
Drying and Touch-ups
Allow the first coat to dry completely before applying a second coat. After the paint has cured, inspect the ceiling for any missed spots or areas that need touching up.
Best Paint Types for Basements
Flat Black for a Modern Look
Flat black paint is a popular choice for an exposed ceiling. It creates a sleek, industrial aesthetic and is excellent for hiding imperfections.
White for Brightness
For a brighter and more open feel, opt for a flat white or off-white paint. This will reflect the most light and make the space feel larger.
Moisture-Resistant Paints
Basements are prone to humidity. Choose a paint that is formulated for basement use or is resistant to moisture and mildew.
Pro Tips for a Professional Finish
Managing Overspray
If you’re using a sprayer, overspray is a concern. Use plenty of drop cloths and painter’s plastic to protect surrounding surfaces.
Lighting and Ventilation
Good lighting is crucial for seeing what you’re doing and ensuring a professional finish. Also, make sure the area is well-ventilated during and after painting to help with drying and reduce fumes.For a flawless and professional finish on your basement ceiling, contact Anderson’s Painting today for a free estimate and expert advice.