Nothing dates a kitchen faster than tired, worn, or dark cabinetry. While a full cabinet replacement can cost tens of thousands of dollars, a professional-quality repaint job offers the same visual impact for a fraction of the price. Repainting kitchen cabinets is a meticulous, multi-day process, but when done correctly—with the right preparation and materials—the results are truly transformative and incredibly durable.
Here is the professional guide on how to repaint your kitchen cabinets and achieve that flawless factory-like finish.
Why Repainting Cabinets Is a Smart Upgrade
Repainting is an investment that immediately pays dividends, both in daily enjoyment and long-term home value.
Affordable Alternative to Replacement
The most compelling reason to repaint is cost savings. A full kitchen renovation with new semi-custom or custom cabinets can run $15,000 to $30,000 or more. A professional paint job, which uses the existing cabinet boxes and doors, typically costs 70-80% less than replacement, making it the most budget-friendly way to achieve a high-end look.
Boosts Kitchen Brightness and Resale Value
A fresh coat of paint, especially moving from dark wood tones to a bright white or light gray, instantly boosts kitchen brightness by reflecting available light. This aesthetic improvement is highly valued by prospective buyers, often offering one of the best returns on investment for home upgrades and significantly improving the home’s resale appeal.
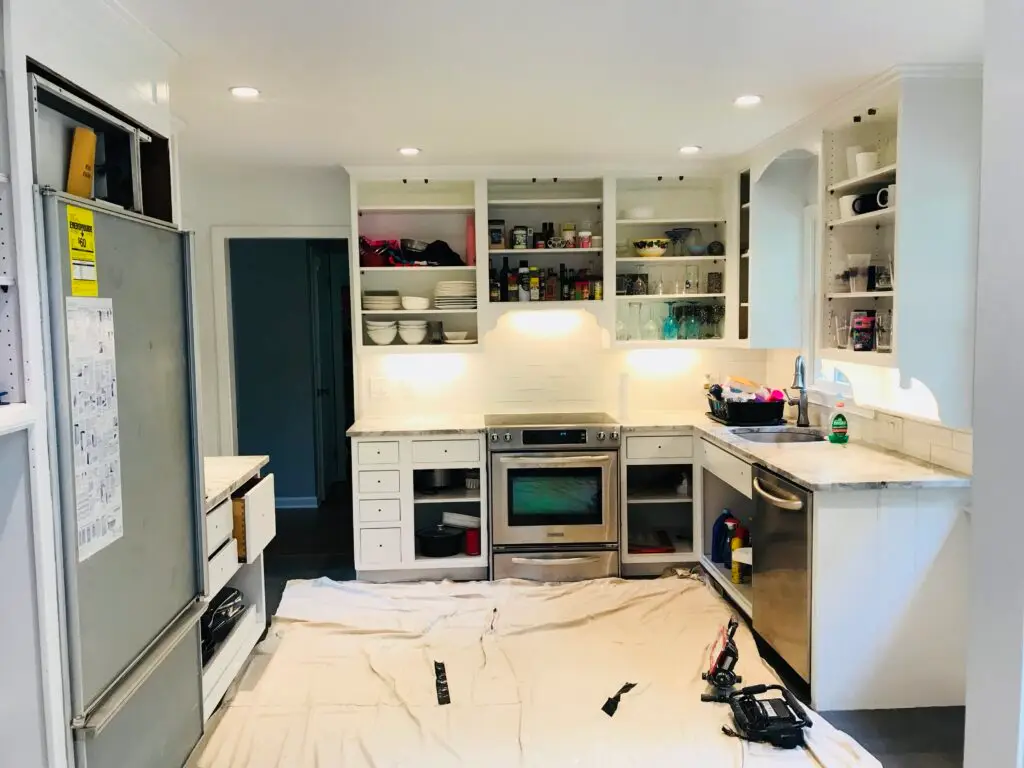
Preparing Cabinets for Paint
Preparation is the absolute foundation of a lasting cabinet paint job. Skipping or rushing these steps guarantees peeling and poor adhesion.
Remove Doors and Hardware
This step is non-negotiable. To achieve a professional finish, you must paint cabinets in sections, and never paint them while they are still hanging.
- Unscrew: Remove all doors, drawer faces, hinges, handles, and pulls.
- Label: Crucially, label every door and the corresponding cabinet opening with a piece of painter’s tape and a number (e.g., “1-D” for Door 1, “1-C” for Cabinet 1). Use a corresponding number or letter system for the hinges and hardware so everything goes back exactly where it belongs.
Degrease Surfaces with TSP or Vinegar
Kitchen cabinets are constantly exposed to cooking grease, steam, and dirt, which create an invisible film that prevents paint from sticking.
- TSP (Trisodium Phosphate): This is the gold standard, heavy-duty degreaser. Mix and apply according to package directions, scrubbing every surface—front, back, and sides—to dissolve oil and grime. Rinse thoroughly with clean water afterward and allow the wood to dry completely.
- Vinegar: For lightly soiled cabinets, a 50/50 solution of white vinegar and water can work as a milder degreaser.
Sand Lightly and Repair Imperfections
- Sanding: Once clean and dry, scuff-sand all surfaces with 180- to 220-grit sandpaper or a sanding sponge. This step isn’t about removing the finish; it’s about dulling the glossy surface to create a “tooth” for the primer to bond to.
- Repairs: Fill any small dings, chips, or deep scratches with a wood filler and sand smooth after drying. Use painter’s putty to fill existing hardware holes if you plan to change the handles to a different size or style.
Choosing the Right Paint and Finish
The paint you choose must be durable enough to withstand daily wear, steam, and frequent cleaning.
Satin, Semi-Gloss, or High-Gloss Options
The finish determines both the look and the cleanability of your cabinets:
- Satin: Provides a subtle sheen. It’s popular for a modern, muted look but shows minor flaws slightly more than semi-gloss.
- Semi-Gloss (Most Recommended): The industry standard for cabinets. It is highly durable, easy to wipe clean, and provides a beautiful, soft luster that hides minor imperfections better than lower sheens.
- High-Gloss: Offers maximum reflectivity and durability, but it requires near-perfect surface preparation as it highlights every flaw, ding, or scratch.
Latex Enamel vs. Alkyd Paint
Professional painters overwhelmingly prefer Alkyd or Hybrid Enamels for kitchen cabinets due to their superior flow and durability.
| Paint Type | Pros | Cons |
| 100% Acrylic Latex Enamel | Easy clean-up, low-VOC, fast-drying. | Less durable, tends to feel “rubbery” until fully cured, can chip more easily. |
| Waterborne Alkyd (Hybrid) | Best choice. Dries hard like oil-based paint, flows beautifully (minimizing brush marks), cleans up with water. | Longer drying time than latex, can be slightly more expensive. |
| Oil-Based Alkyd | Extremely hard, durable finish. | High VOC, long drying time, yellowing over time, requires mineral spirits for cleanup. |
Painting & Finishing Steps
The goal is to apply thin, even coats to achieve maximum durability without obscuring the wood grain or getting drips.
Apply Primer
A high-quality stain-blocking, bonding primer is essential. It prevents old stains or wood tannins from bleeding through and provides a sticky base coat that the topcoat can adhere to.
- Apply one thin, even coat of primer to all surfaces (doors, drawer fronts, and cabinet frames).
- Allow the primer to dry completely according to the manufacturer’s instructions (usually 4–6 hours).
Paint Two Thin Coats
Using a high-density foam roller or an HVLP sprayer will yield the smoothest results. If using a brush, use a high-quality synthetic brush designed for cabinet enamels to minimize brush marks.
- Apply the first coat of your chosen cabinet enamel. Do not try to achieve full coverage; focus on even application.
- Allow the first coat to dry completely (often 24 hours for hybrid enamels).
- Lightly sand with 220- or 320-grit sandpaper (or a fine sanding pad) to knock down any bumps or raised grain, then wipe clean.
- Apply the second, final coat. This coat should provide beautiful, rich, full coverage.
Let Cure Before Reattaching Hardware
This is the most critical step and the one most often rushed. Paint may be “dry to the touch” in hours, but it takes time to fully cure (harden).
- Do not reattach doors, drawer fronts, or hardware for at least 3 to 7 days, depending on the paint type and humidity.
- Allow the paint to harden for at least 30 days before scrubbing or heavy use. Treating them gently during this period ensures the paint film reaches maximum hardness and durability.
FAQs
Do I need to sand between coats?
Yes, lightly. Sanding with very fine grit paper (220-320) between coats knocks down the “raised grain”—the fine wood fibers that swell after getting wet with paint or primer. This step removes bumps and ensures that your final topcoat is silky smooth. Always wipe the surface clean after sanding.
How long does cabinet paint last?
A professional cabinet paint job using high-quality hybrid enamel or lacquer and proper preparation can last 10 to 15 years without needing major touch-ups. Longevity depends heavily on the preparation (especially degreasing and sanding) and the quality of the paint product used. Poor preparation can lead to failure in less than two years.
Repainting cabinets is one of the most rewarding home projects, but it requires patience and a commitment to detail. If you want the ultra-smooth, durable finish that only professional equipment and experience can deliver, it’s time to call the experts.
Ready to transform your kitchen without the high cost of replacement? Contact Anderson’s Painting today for a cabinet painting consultation and a flawless, long-lasting finish!