Painting wood furniture is an accessible and rewarding DIY project. With the right technique and materials, even a beginner can transform an old, outdated piece into a stunning focal point. This guide walks you through the entire process, ensuring you get a smooth, durable, and professional-looking finish.
What You Need Before Starting
Preparation starts with gathering the essential tools. Having everything ready before you begin will make the process smoother and more efficient.
Basic Tools and Supplies
- Safety Gear: Gloves, safety glasses, and a respirator mask (especially when sanding or using oil-based paints).
- Cleaning Supplies: Mild soap, degreaser (like TSP substitute), and clean rags.
- Sanding Materials: Sandpaper (80-grit, 150-grit, and 220-grit), sanding block, or electric palm sander.
- Repair Materials: Wood filler for dents and a putty knife.
- Brushes and Rollers: High-quality angled synthetic brush (for detailed areas), a small foam roller or micro-fiber roller (for flat surfaces), and a paint tray.
- Paint Products: Primer (stain-blocking is often best), your chosen furniture paint, and a water-based polycrylic topcoat (sealer).
- Drop Cloths: To protect your work area.
Choosing Beginner-Friendly Paint
For your very first furniture project, we strongly recommend choosing a paint that offers easy cleanup and good flow:
- 100% Acrylic Latex Enamel: This water-based paint cleans up with water, has low odor, and is readily available. Look for an “enamel” formulation, as this term indicates higher durability and a harder finish once cured.
- Chalk Paint: If you are comfortable with applying a wax or poly topcoat, chalk paint requires minimal prep (less sanding) and is very forgiving to apply, making it a favorite among beginners for a quick transformation.
Step-by-Step Painting Guide
Follow these four critical steps precisely to achieve a long-lasting, smooth finish.
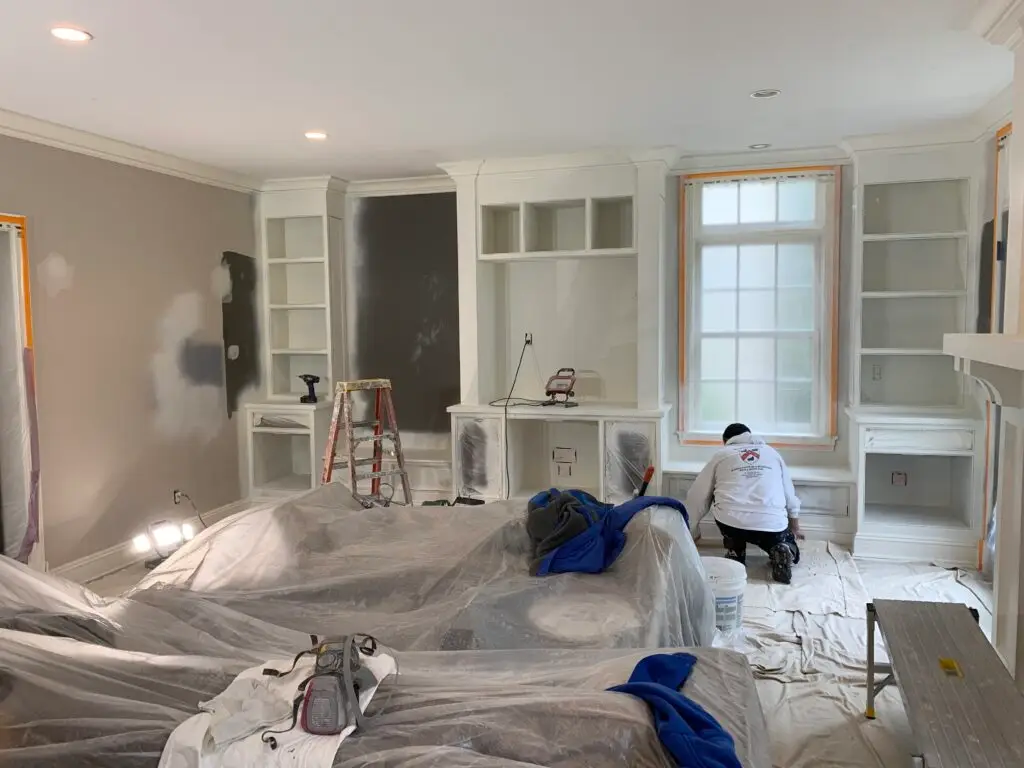
Step 1: Clean and Sand the Furniture
A clean, smooth surface is the foundation of a durable paint job. Do not skip this step!
- Remove Hardware: Take off all knobs, pulls, and hinges. Label them or store them in a plastic bag.
- Clean: Use a dedicated degreaser or TSP substitute to scrub away years of oil, wax, polish, and grime. Rinse the piece with clean water and let it dry completely (1-2 hours).
- Repair: Use wood filler and a putty knife to fill any visible dents, deep scratches, or gouges. Allow the filler to dry fully, then sand the patched area flush with the surrounding surface.
- Sanding (Crucial):
- If the existing finish is rough or peeling, use 80-grit to 100-grit sandpaper first, then follow with 150-grit.
- If the existing finish is in good shape, simply scuff the entire surface with 150-grit or 220-grit sandpaper to dull the sheen. This “de-glosses” the surface and gives the primer something to grip.
- Final Wipe-Down: Wipe the entire piece with a tack cloth or a damp rag to remove all sanding dust before proceeding.
Step 2: Apply Primer
Primer is the adhesive layer that prevents stains from bleeding through and gives the paint maximum adhesion.
- Choose the Right Primer: If your piece is an older wood (like oak or pine) or stained dark, use a shellac-based or high-quality stain-blocking primer to lock in tannins and prevent yellow/brown discoloration (bleed-through).
- Application: Apply a thin, even coat of primer using a brush for details and a small roller for flat surfaces. Avoid applying it too thick, as this will lead to drips.
- Dry Time: Allow the primer to dry completely according to the manufacturer’s instructions (usually 1–4 hours).
- Light Sanding: Once dry, use a very fine 220-grit or 320-grit sandpaper to gently smooth the primed surface. This removes any raised grain or brush marks. Wipe away the dust.
Step 3: Apply First and Second Coats of Paint
Use your high-quality paint, thinning slightly if needed (check product instructions), to ensure smooth application.
- First Coat:
- Start with the recessed areas and corners using your angled brush.
- Move to the flat surfaces, applying thin, even coats with a foam roller.
- Tip: Use the brush to “cut in” edges, then immediately use the roller to blend the paint on flat areas.
- Dry Time: Let the first coat dry completely. Refer to the product label, but generally wait 4–8 hours. The paint should feel dry to the touch and not tacky.
- Second Coat (If Needed): Repeat the process. Most colors, especially dark ones, will require a second coat for full, deep coverage and color saturation. Two thin coats are always better than one thick coat.
Step 4: Seal for Durability
A sealer (topcoat) protects the decorative paint layer, adding scratch resistance and moisture protection.
- Water-Based Polycrylic: This is the best choice for beginners. It is durable, non-yellowing, and easy to clean up. Do not use oil-based polyurethane over light-colored paint, as it will amber (yellow) over time.
- Application: Apply a thin, even coat of polycrylic using a clean, separate synthetic brush or a foam roller.
- Multiple Coats: For high-traffic surfaces like tabletops or drawer tops, apply two to three thin coats of sealer, allowing the recommended dry time between each coat.
- Cure Time: Your paint may feel dry in a day, but it needs time to fully cure (harden). Avoid heavy use of the furniture for 7 to 30 days after the final coat.
Common Mistakes Beginners Make
Learning to paint furniture involves avoiding a few common pitfalls that ruin a professional finish.
Skipping Sanding
This is the number one reason paint fails. If you paint directly over a glossy, slick, or dirty surface, the paint will never form a strong bond. It will scratch and peel off easily, often within weeks of use. Always scuff the surface to create mechanical adhesion.
Using the Wrong Brush or Roller
Cheap natural-bristle brushes are best for oil-based paint but leave excessive brush marks with water-based latex. Use high-quality synthetic brushes and a micro-fiber roller designed for smooth finishes. A quality roller is essential for achieving a smooth, spray-like finish on flat surfaces.
Overloading Paint and Causing Drips
Drips and thick paint application cause three problems: they look amateurish, they take forever to dry, and they will crack or wrinkle as they cure. Always apply paint in thin, even layers. If you see a drip starting, immediately wipe the area smooth and re-roll/re-brush lightly.
FAQs About Painting Wood Furniture
“How long should paint dry between coats?”
You must wait until the paint is dry to the touch (not tacky) before applying the next coat. For most acrylic latex and chalk paints, this is typically 4–8 hours. However, you must always adhere to the specific time recommended on the manufacturer’s label. Attempting to recoat too early will lift the underlying paint layer, creating an uneven and patchy finish.
“Can beginners use spray paint?”
Yes, beginners can use furniture spray paint, which can provide a near-perfect, smooth finish with no brush marks. However, spray paint is much harder to control than brush-on paint. The critical challenge with spray paint is proper application technique: you must maintain a consistent distance (usually 8-12 inches) and use continuous, smooth passes to avoid thick drips and uneven coverage. Always spray outdoors or in a very well-ventilated area.
“Do I need a topcoat for every project?”
For maximum durability, yes. While some modern “all-in-one” enamel paints market themselves as requiring no topcoat, any furniture that is regularly used—such as a dining chair, desk, or kitchen cabinet—will benefit from a hard, clear protective sealer like polycrylic. If the piece is purely decorative (e.g., a small side table that holds only a lamp), you might skip the topcoat, but it is always the best practice to seal it.
Ready to transform your pieces? Starting with proper prep and the right tools will make all the difference in your painting journey.
Need professional advice, specific product recommendations, or have a project too large for DIY? Contact Anderson’s Painting today—we make old furniture look brand new!