The presence of peeling, flaking, or “alligatoring” paint indicates that the film has lost its adhesion to the substrate. To fix it, you cannot simply apply a new layer of paint over the old one. You must remove the failing material, stabilize the surface, and address the root cause of the failure before repainting.
Quick Answer: Remove Loose Paint, Sand Smooth, Prime, and Repaint
The only way to permanently fix peeling paint is a four-step process: Scrape, Sand, Prime, and Paint. Skipping any of these steps—especially the sanding or priming—will almost certainly lead to the new paint peeling away along with the old layers within a single season.
Why painting over peeling paint does not work
Paint is only as strong as the layer beneath it. If the bottom layer is pulling away from the wood or drywall, adding more weight (new paint) on top will actually accelerate the peeling process. The new wet paint softens the old edges, causing them to curl and lift even further.
Why proper prep is everything
In the professional painting industry, preparation accounts for 70% of the labor. Proper prep ensures that the surface is clean, dry, and “profiled” (slightly roughened) so that the new primer can create a mechanical bond with the surface.
What Causes Paint to Peel?
- Moisture problems: This is the #1 cause in New England. Water seeping behind siding or high humidity in bathrooms pushes the paint film off the surface.
- Poor adhesion: Painting over a dusty, dirty, or oily surface prevents the paint from ever “locking” in.
- Skipping primer: Primer is the “glue” of a paint job. Painting directly onto bare wood, metal, or fresh drywall often leads to failure.
- Painting over glossy surfaces: New paint cannot grip a high-gloss finish without prior sanding or a specialized bonding primer.
Step-by-Step: How to Fix Peeling Paint
Step 1: Scrape off loose paint
Using a sharp tungsten carbide scraper, remove every bit of loose or bubbling paint. Continue scraping until you reach “sound” paint—paint that is firmly attached and cannot be lifted with a putty knife.
Step 2: Sand and feather edges
Once the loose paint is gone, you will be left with a “valley” where the bare surface meets the remaining paint. Use 80-to-120 grit sandpaper to feather the edges. The goal is to make the transition between the bare spot and the old paint completely smooth to the touch.
Step 3: Repair damaged spots
For exterior wood, fill any gouges with a high-quality wood filler or epoxy. For interior drywall, use a lightweight spackling compound or joint compound to level the surface. Sand smooth once dry.
Step 4: Spot-prime bare areas
Never skip this. Apply a high-quality primer to the bare spots. For exterior wood, use a slow-drying oil-based primer or a high-build acrylic. For interior masonry or drywall, a high-quality latex primer is usually sufficient.
Step 5: Repaint with the right product
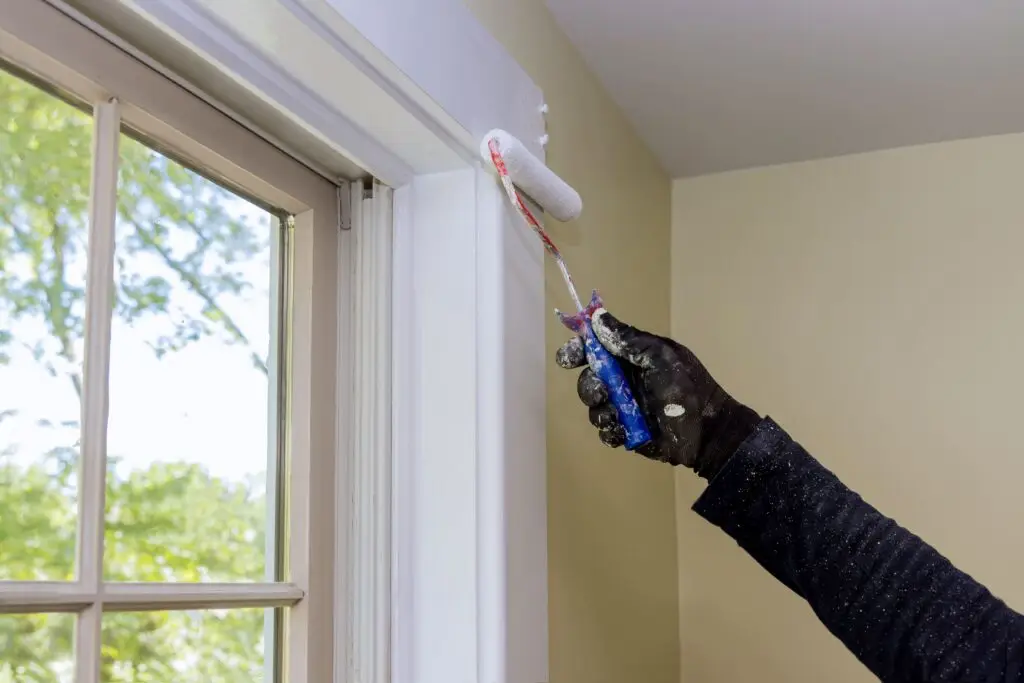
Apply two coats of premium paint. For exteriors, choose a 100% acrylic latex for maximum flexibility. For interiors, match the sheen of the surrounding wall to ensure the patch is invisible.
How to Fix Exterior Peeling Paint
Exterior surfaces in the U.S. face the harshest conditions, from UV baking to freezing rain.
- Siding and trim prep: Check for wood rot before repainting. If the wood is soft or “punky,” no amount of paint will save it; the wood must be replaced.
- Moisture and weather checks: Ensure the wood moisture content is below 15% before applying primer. Never paint immediately after a rainstorm or on a humid morning when dew is still present.
How to Fix Interior Peeling Paint
- Bathroom and kitchen problem areas: Peeling is common here due to steam. After scraping, clean the area with a TSP (trisodium phosphate) substitute to remove soap scum or grease before priming.
- Ceilings and walls: If paint is peeling from a ceiling, check for hidden roof or plumbing leaks first. Fixing the paint without fixing the leak is a temporary solution.
Best Primer and Paint Choices After Peeling
- Bonding primer: Essential for glossy surfaces or “mystery” old paints.
- Peel-bond products: These are thick, clear primers (like Zinsser Peel Stop) that “glue” the edges of remaining paint down to prevent further lifting.
- High-quality exterior acrylic paint: Top-tier paints like Benjamin Moore Aura stay flexible, allowing the paint to expand and contract with the wood without cracking.
Common Mistakes When Repairing Peeling Paint
- Not removing all failing paint: If you leave even a small edge of loose paint, the entire new patch will fail.
- Repainting too soon after washing: If you power wash the exterior, you must allow 48 hours of dry time before priming.
- Ignoring the source of moisture: If a clogged gutter is drenching a corner of your house, the paint will peel again every time it rains until the gutter is fixed.
FAQ: Fixing Peeling Paint
Can you paint over peeling paint?
No. It will look acceptable for a few days, but the moisture in the new paint will cause the old layers to lift, creating a bigger mess than you started with.
What primer should I use after scraping?
For exterior wood, an oil-based primer is best for sealing tannins. For interior bathrooms, use a moisture-resistant primer.
Why does paint keep peeling on exterior wood?
Usually, it’s “mill glaze” on new wood or moisture vapor escaping from the inside of the house through the siding.
Need Help With Exterior Paint Repairs?
Fixing peeling paint is labor-intensive and requires a keen eye for detail to ensure the problem doesn’t return. At Anderson’s Painting, we specialize in the deep-level preparation required to save your home’s exterior and provide a finish that stands up to the elements.
- Comprehensive Surface Prep: We don’t just cover up problems; we solve them.
- Premium Coating Systems: We use only the highest-rated primers and paints for long-term adhesion.
- Professional Results: Get a seamless, smooth finish that restores your home’s curb appeal.
Click Here to Schedule a Free Estimate with Anderson’s Painting and Let Us Fix Your Peeling Paint for Good!