Preparing drywall is a multi-stage process of smoothing, cleaning, and sealing. In 2026, the trend has shifted toward “Level 5” finishes—a skim-coat standard that requires impeccable surface preparation. To achieve a “Gold Star” result, you must treat the drywall not just as a wall, but as a precision-engineered canvas.
Quick Answer: Sand, Clean, and Prime Before Painting
To prep drywall professionally:
- Sand the seams and patches with fine-grit abrasives until they are flush.
- Clean every square inch to remove the “micro-dust” that causes paint to peel.
- Prime the surface with a high-hiding sealer to equalize porosity and ensure a uniform sheen.
Step-by-Step Prep: The Specialist’s Roadmap
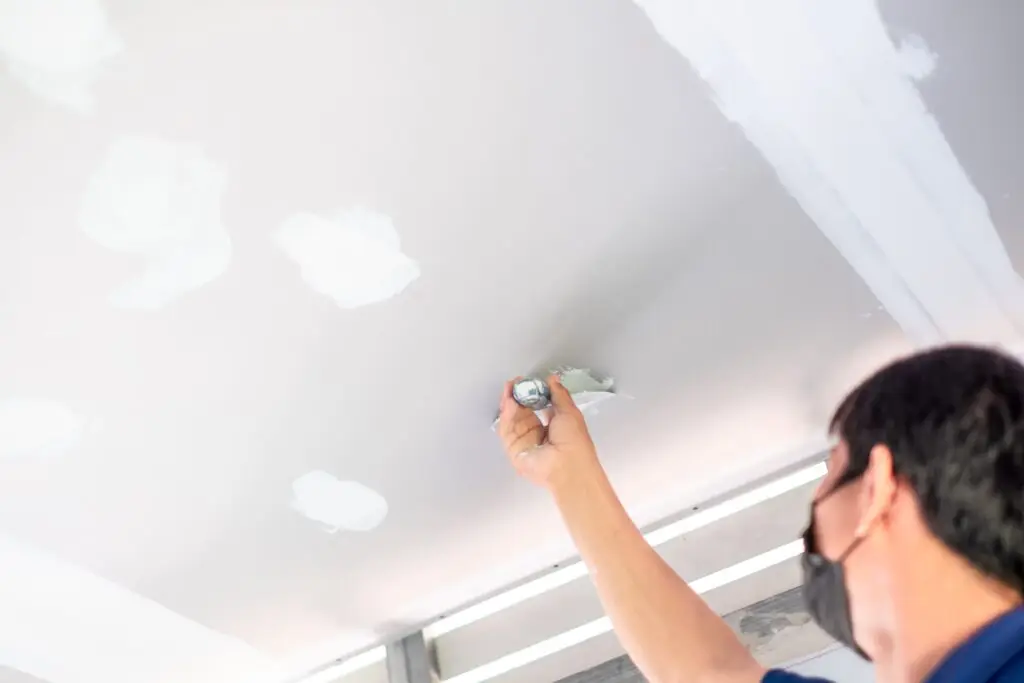
1. Precision Sanding
In 2026, we utilize dust-containment sanding systems to keep your home clean. Use 120-grit sandpaper for initial smoothing and finish with a 220-grit sanding sponge for the “Masterpiece” feathering of edges.
- The Pro Secret: Use a high-intensity LED work light held at an angle against the wall. This “raking light” reveals shadows from even the smallest imperfections that need more sanding.
2. Deep Cleaning
Dust is the #1 enemy of paint adhesion. After sanding, a simple sweep isn’t enough.
- Vacuum: Use a shop vacuum with a HEPA filter and a brush attachment to pull dust out of the drywall’s pores.
- Wipe: Use a microfiber tack cloth or a slightly damp sponge to remove the final film of “ghost dust.” If the wall feels chalky to the touch, it isn’t ready for primer.
3. Specialist Priming
Raw joint compound (mud) and drywall paper absorb paint at different rates. Without primer, you will experience “flashing”—where your seams look duller than the rest of the wall.
- The Choice: Use a high-quality PVA (Polyvinyl Acetate) primer. It’s specifically engineered to soak into the gypsum and create a uniform, non-porous “Gold Star” surface for your topcoat.
Common Prep Mistakes to Avoid
- Sanding Through the Paper: If you sand too aggressively and “fuzz” the drywall paper, that texture will show through even three coats of paint. Sand only the mud, not the board.
- Painting Over Damp Mud: In 2026’s high-efficiency homes, moisture can linger. If the mud isn’t bright white and bone-dry, the primer will bubble or peel.
- Skipping the Caulk: Gaps between the drywall and the trim (baseboards or window casing) make a room look unfinished. Use a paintable elastomeric caulk for a seamless “Masterpiece” transition.
Tools Needed for a Professional Setup
| Category | Essential Tools |
| Sanding | Pole sander (for ceilings), 220-grit sanding sponges, LED work lamp. |
| Cleaning | HEPA-filter shop vacuum, microfiber tack cloths. |
| Repair | Lightweight spackle, 6-inch joint knife, and paintable caulk. |
| Protection | Canvas drop cloths (reusable) and high-quality painter’s tape. |
FAQ: Prepping Your Canvas
Do I need to sand drywall before painting?
Yes. Even if the wall looks smooth, sanding removes “burrs,” ridges, and the slight texture differences between the paper and the compound. Failing to sand leads to a “patchy” look once the paint dries and reflects light.
Can I just use “Paint + Primer” in one?
While these are great for previously painted walls, new drywall requires a dedicated sealer. Bare gypsum is too thirsty for a 2-in-1 product; you’ll end up using twice as much expensive paint for a lower-quality finish.
How do I fix “nail pops” before painting?
Drive a new drywall screw two inches above or below the pop, then reset the original nail or screw. Cover with two thin coats of mud, sand, and prime.
Achieve a “Masterpiece” Finish with Anderson’s Painting
At Anderson’s Painting, we believe that the best paint jobs are 90% preparation and 10% application. Our specialists bring the technical expertise and the right 2026 tools to ensure your walls are flawlessly smooth and structurally sound before the color is ever opened. Whether you’re dealing with a new addition or a historic renovation, we deliver the “Gold Star” preparation your home deserves.
- Dust-Free Sanding Technology: Keeping your air and surfaces clean.
- Level 5 Finish Specialists: For the smoothest walls possible.
- Marlborough’s Quality Leaders: We treat every wall like a “Masterpiece.”
Ready for walls that look as smooth as glass? Contact Anderson’s Painting today for a professional drywall preparation and painting estimate, and let’s start your home’s “Masterpiece” transformation!