
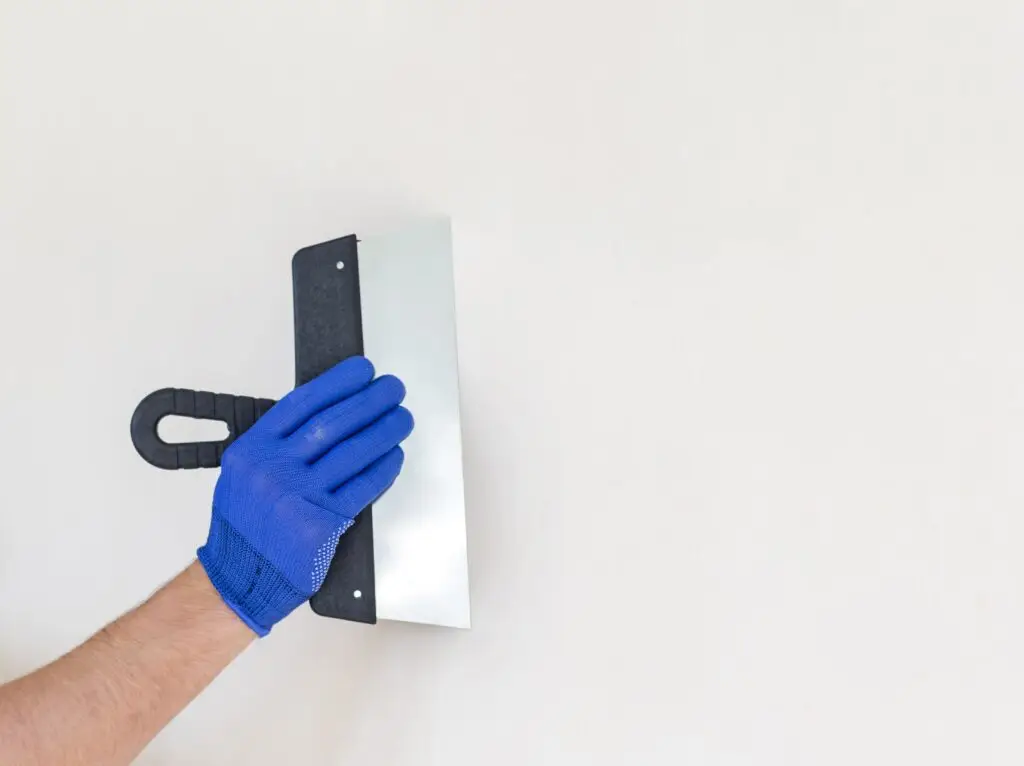
A nail pop is one of the most common drywall imperfections, appearing as a small, circular bump or crack on your wall or ceiling. While they are often a natural part of a home’s life cycle, knowing how to fix them correctly is the key to maintaining a flawless finish.
What Are Nail Pops in Drywall?
A nail pop occurs when the fastener (nail or screw) holding the drywall to the wood stud pushes outward, breaking the surface of the drywall compound and paint.
- Nail Pops vs. Screw Pops: While “nail pop” is the common term, screws can also “pop” through the finish. However, screw pops are generally less frequent because the threaded shank provides better grip.
- Why They Show Through Paint: Even if the nail doesn’t fully break the paper, the slight protrusion creates a shadow or a visible “bump” that is magnified by the sheen of your paint, making it stand out under light.
What Causes Nail Pops?
Most pops are a result of the natural behavior of wood framing.
- House Settling: As a home ages, the foundation and structure shift slightly, putting pressure on wall segments.
- Framing Movement: This is the most common culprit. Wood studs used in construction contain moisture. As they dry out over time, they shrink, twist, or warp. Since the drywall doesn’t shrink with the wood, the fasteners are pushed out.
- Improper Fastening: Overdriving fasteners (breaking the drywall’s paper face) or using fasteners that are too short/too few can lead to failure.
- Moisture and Seasonal Expansion: Humidity causes wood to expand and contract, a cycle that slowly works fasteners loose from the studs.
Tools and Materials Needed
- Drywall screws: 1 1/4-inch screws are standard for 1/2-inch drywall.
- Joint compound (mud): Lightweight spackle works well for small repairs.
- Putty knife: A 4-inch or 6-inch blade is ideal.
- Sandpaper: Fine-grit (120–220 grit) for a smooth finish.
- Primer and paint: To blend the repair with the surrounding wall.
Step-by-Step Nail Pop Repair
Do not just hammer the nail back in. Doing so is a temporary fix that will almost always fail again. Use this method to permanently secure the area:
- Secure the drywall with screws: Drive a new drywall screw about 1–2 inches above or below the pop. This anchors the drywall firmly to the stud.
- Remove or set the popped nail: Use a hammer to tap the popped nail flush with the surface. If it is stubborn or sticking out too far, remove it entirely with a nail puller.
- Apply compound: Apply a small amount of joint compound over the hole and the new screw head using your putty knife. Press it in firmly to fill the void.
- Sand smooth: Once the compound is completely dry, lightly sand it until it is perfectly flush with the wall. Apply a second thin coat if the hole is still visible, let it dry, and sand again.
- Prime and repaint: Always apply a coat of primer before painting. If you skip the primer, the compound will soak up the paint differently than the wall, leaving a visible “spot.”
When Nail Pops Are a Bigger Problem
While the occasional pop is normal, keep an eye out for signs of deeper issues:
- Repeated or Clustered Pops: Numerous pops appearing in a single area or in a straight line may indicate structural movement or framing issues.
- Ceiling Cracks: Pops in the ceiling, especially near perimeter walls, can suggest that the ceiling joists are under stress.
- Structural Red Flags: If your nail pops are accompanied by sticking doors, uneven floors, or large cracks in the foundation, it is time to have a professional structural engineer or foundation specialist inspect your home.
Professional Drywall Repair vs. DIY
- When DIY works: If you have one or two isolated pops, a DIY repair is quick and easy.
- When to call a pro: If you have dozens of pops, if they return shortly after repair, or if they appear alongside other structural symptoms, call a drywall specialist or a contractor to rule out foundation or framing problems.
FAQ
Why do nail pops keep coming back?
If they return quickly, it usually means the drywall wasn’t properly re-secured to the stud. Simply hammering them flat isn’t enough; you must drive in a new screw to hold the drywall tight to the framing.
Can you just hammer in a nail pop?
It is not recommended. Hammering the nail flush is a cosmetic-only fix. Because the wood has already shrunk or moved, the nail will likely “pop” again as soon as the house experiences seasonal temperature changes.
Do nail pops mean foundation problems?
Not necessarily. Most nail pops are caused by the natural drying and shrinking of wood framing in newer homes. However, if they are clustered or accompanied by cracks in the foundation or doors that won’t close, they can be a symptom of settling.
How do you hide nail pops before painting?
The secret is a two-coat approach with the compound, followed by thorough sanding and, most importantly, priming. The primer seals the compound so it matches the finish and texture of the surrounding wall.
Should nail pops be repaired before repainting?
Yes. If you paint over a pop, the bump becomes even more visible because the light will catch the protrusion against the fresh coat of paint. Always fix the surface first!
Is your home looking less than perfect?
At Anderson’s Painting, we know that the finish is only as good as the preparation. From professional drywall patching to the final coat of paint, we ensure your walls look seamless and smooth.
Contact Anderson’s Painting today for a consultation on your next project!