
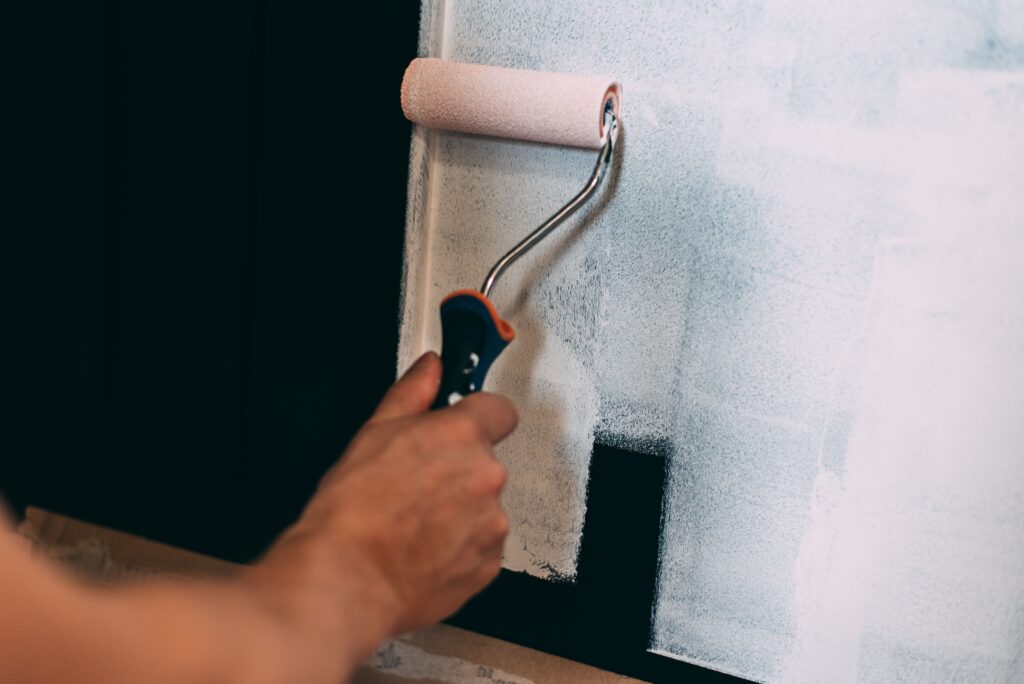
Transforming a room from a bold, dark statement to a fresh, light neutral is one of the most satisfying home improvement projects you can take on. However, it’s also one of the most notorious for “bleed-through” and patchiness. If you’ve ever painted over navy, charcoal, or forest green, you’ve likely seen the original color peek through after the first coat. At Anderson’s Painting, we know that professional results come down to one thing: a foundation that doesn’t quit.
Quick Answer: Can You Paint Over Dark Walls?
Yes, but not with standard techniques. You can’t simply apply a lighter color over dark walls and expect full coverage. To achieve a seamless finish, you must use a high-hide primer and plan for multiple coats. Skipping these steps often results in a “ghosting” effect where the old color haunts your new paint job.
Why Dark Colors Are So Stubborn
Dark paints are packed with high concentrations of pigment. When you try to cover them, your new paint is essentially fighting against a wall that is “saturated” with color. If you apply a lighter paint directly over a dark base, the old pigment can migrate through the new layers, creating streaks, uneven tones, or a “muddy” appearance.
The Pro-Toolkit
Before you start, gather the right materials. Using “economy” supplies here will only increase your workload.
- High-Hiding Primer: A dedicated “stain-blocking” or “high-hide” primer.
- Quality Interior Paint: Look for “premium” lines, which have higher resin and pigment counts.
- Roller with Appropriate Nap: For smooth drywall, a 3/8-inch nap is ideal; for textured walls, step up to a 1/2-inch or higher.
- Angled Sash Brush: Essential for “cutting in” around trim and corners.
- Painter’s Tape & Drop Cloths: Essential for the prep work that makes the actual painting look professional.
How to Paint Over Dark Walls: Step-by-Step
1. Prepare the Canvas
Never skip prep. Use a mild detergent or sugar soap to remove grease and dust. If the old paint is glossy, lightly sand it to “de-gloss” the surface; this helps the new primer grab onto the wall. Fill any holes with spackle and sand them smooth once dry.
2. Apply a High-Hiding Primer
Think of primer as the wall’s new foundation. A tinted primer (often a gray shade) is the secret weapon of professional painters. Gray primer acts as a neutralizer, making it much easier for your final color to achieve full opacity. Apply the primer evenly, ensuring no dark spots remain visible underneath.
3. Patience in Drying
Let the primer dry completely. Rushing this step will only smear the dark pigments into your new coat. If you see “bleed-through” after the first coat of primer, apply a second layer of primer rather than reaching for your finish paint.
4. Apply Your Topcoats
Apply two thin, even coats of your final paint. Use the “W” or “M” roller technique to ensure even distribution and prevent heavy lap marks.
Tinted vs. White Primer
Should you use white or tinted?
- White: Best if you are painting a very light, clean color (like a bright white).
- Tinted (Gray): Highly recommended when going from dark to mid-tone or light neutrals. It significantly reduces the number of coats required and prevents the dark color from showing through the lighter topcoat.
Common Mistakes to Avoid
- Skipping Primer: This is the #1 mistake. Even “Paint + Primer in One” products often struggle to cover deep, saturated darks in a single pass.
- Overloading the Roller: Too much paint on the roller leads to splatters and uneven “orange peel” texture.
- Not Letting Coats Dry: Follow the manufacturer’s recoat time strictly. If the paint is even slightly tacky, you’re just pulling the previous layer off.
- Poor Lighting: Paint in natural daylight whenever possible. Artificial yellow lights often mask “thin” spots that will be painfully obvious when the morning sun hits your wall.
When Professional Painting Saves Time
Covering dark walls is a test of patience. If your project involves a large room, high ceilings, or particularly stubborn colors (like deep reds or blacks), it can quickly become a multi-day ordeal. At Anderson’s Painting, we have the professional-grade high-hide primers and specialized application techniques to get your walls covered perfectly in fewer coats.
FAQ
- Do I need primer to paint over dark walls? Yes. It’s the most cost-effective way to ensure you don’t need 4 or 5 coats of expensive finish paint.
- What color primer covers dark paint best? A gray-tinted primer is usually the most effective at neutralizing dark pigments.
- Can one coat of paint cover a dark wall? Rarely. Even with high-hide paint, the transition from dark to light almost always requires two coats of topcoat over your primer.
- Why does dark paint show through new paint? This is called “bleed-through.” It happens when the new paint is too thin or the surface wasn’t primed properly.
- How long should primer dry before painting? Check the label! While some dry to the touch in 30 minutes, it is often best to wait 2–4 hours to ensure it is fully ready for the topcoat.
Ready to say goodbye to your dark walls? Don’t get stuck doing four coats and still seeing streaks. Click here to get a free estimate from Anderson’s Painting and let our team handle the coverage for a clean, professional transition!