
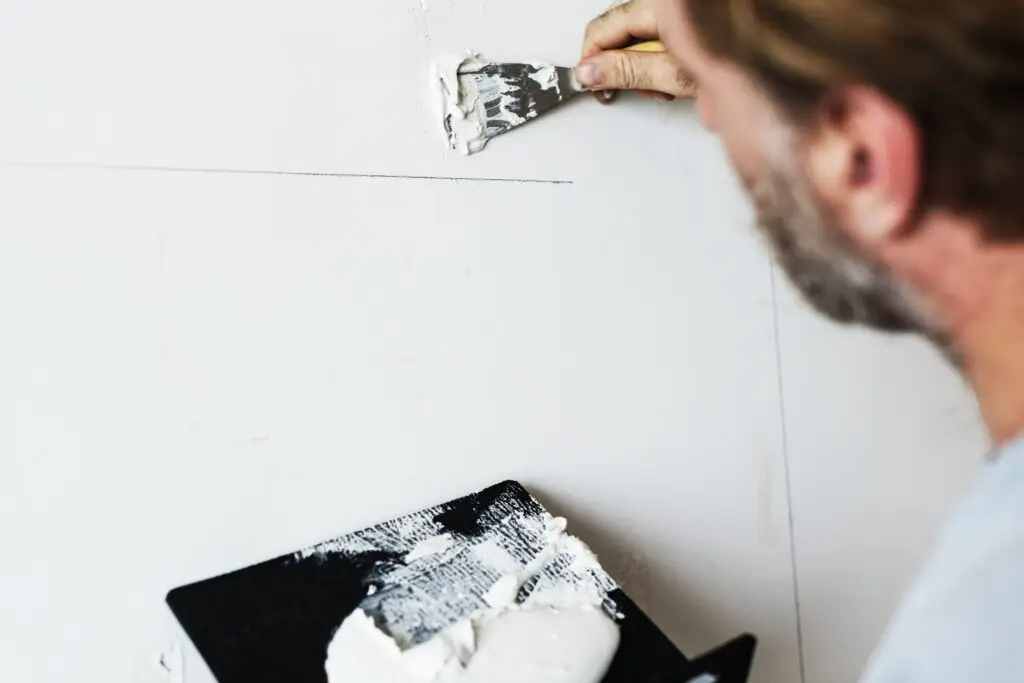
A fresh coat of paint is the most cost-effective way to revitalize a room, but there’s one “silent killer” of a perfect paint job: the pre-existing drywall crack. If you paint over a crack without addressing the underlying issue, you’re essentially just highlighting the imperfection. At Anderson’s Painting, we know that professional-quality results start long before the first brushstroke.
Quick Answer: Should Drywall Cracks Be Fixed Before Painting?
Yes, absolutely. If you paint over a crack, the filler or paint will eventually pull apart, leaving you with a visible line that ruins your hard work. By taking the time to properly fill, tape, and sand the crack, you create a seamless surface that ensures your new paint looks smooth, professional, and built to last.
Why Drywall Cracks Appear
Before you pick up the putty knife, it helps to understand why the crack happened. Most cracks aren’t just “age”; they are structural responses to environmental stress.
- House Settling: As homes “settle” into the soil, the framing shifts slightly, putting tension on drywall joints. This is especially common in newer homes as lumber dries and shrinks.
- Temperature and Humidity Changes: Materials like wood and gypsum expand and contract with the seasons. Large fluctuations can cause seams to pop or hairline cracks to form.
- Poor Installation: If tape wasn’t properly embedded or if the drywall wasn’t fastened correctly to the studs, the seams become weak points that will crack under minimal pressure.
- Moisture Problems: Leaks or high humidity can soften drywall, leading to sagging, swelling, or crumbles.
- Structural Movement: Excessive weight on upper floors or vibrations from nearby traffic can eventually manifest as cracks in your walls.
Know Your Cracks: Cosmetic vs. Structural
Not all cracks are created equal. Knowing the difference can save you a world of trouble.
- Hairline Cracks: Usually cosmetic. These thin, straight lines are normal in most homes and are easy to fix with a little joint compound.
- Vertical Cracks: Often a result of drying “green” lumber or standard settling.
- Horizontal Cracks: These are often “red flags.” If they appear mid-wall or near the ceiling, they may indicate structural stress or roof truss issues.
- Stair-Step Cracks: If your crack moves in a jagged, stair-step pattern, it may indicate foundation movement.
- Cracks Around Doors/Windows: These are common due to the lack of support around openings, but if the door or window begins sticking, it’s a sign of a deeper foundation shift.
Essential Tools for the Repair
To get a professional finish, you’ll need:
- Joint Compound (or Spackle for tiny holes)
- Drywall Tape (Mesh or Paper)
- Putty Knife (4-inch to 6-inch)
- Sanding Sponge (Fine-grit)
- High-Quality Primer
- Matching Paint
How to Fix Small Drywall Cracks: Step-by-Step
- Clean and Widen: Use a utility knife to slightly widen the crack into a “V” shape. This creates a better surface for the compound to grip. Brush away all dust.
- Apply Compound: Use your putty knife to press the joint compound firmly into the crack.
- Tape It: If the crack is longer than a few inches, embed a strip of drywall tape into the wet compound to provide reinforcement.
- Layer and Dry: Apply a thin layer of compound over the tape. Let it dry completely—don’t rush this!
- Sand Smooth: Use a fine-grit sanding sponge to feather the edges so the patch blends perfectly with the surrounding wall.
- Prime: Never skip this step. Primer seals the patch so the paint absorbs evenly. Without it, you’ll see a “flash” or dull spot where you patched.
- Paint: Apply your finish coat. By using a roller with a light touch, you’ll hide the repair entirely.
When to Call a Professional
If you’re seeing any of the following, put the putty knife down and call a pro:
- Cracks wider than 1/8 inch.
- Cracks that are growing, lengthening, or widening over time.
- Cracks accompanied by sagging floors, sticking doors, or bowing walls.
- Cracks that keep reappearing even after you have repaired them twice.
Ignoring these can lead to expensive structural damage. A professional can determine if you’re just dealing with a bad tape job or if your home’s foundation needs attention.
Common Mistakes to Avoid
- Using Too Much Compound: “Less is more.” Heavy layers take longer to dry and are much harder to sand smooth.
- Skipping the Primer: As mentioned, this is the #1 cause of “ugly” repairs.
- Ignoring the Movement: If the house is still settling, a rigid fix might just crack again. Sometimes, a high-quality flexible caulk is better for small, recurring seasonal cracks.
Why Professional Repair Improves Paint Results
At Anderson’s Painting, we often say that paint is only as good as the surface beneath it. Professional drywall repair ensures that every seam is reinforced, every bump is leveled, and every transition is feathered out. The result isn’t just a painted wall; it’s a flawless canvas.
FAQ
- Can you paint over drywall cracks? No. It will look terrible within weeks. Always repair first.
- What is the best filler for drywall cracks? Use a high-quality joint compound for seams and cracks; lightweight spackle is fine for tiny nail holes.
- Do drywall cracks need tape? If the crack is structural or on a seam, yes. Tape is the “muscle” that keeps the crack from reopening.
- Why do drywall cracks come back after painting? Usually because the underlying issue (like foundation movement or poor tape application) wasn’t addressed.
- When should I worry about drywall cracks? If you can fit a pinky finger in the crack, if the crack is “stair-stepping,” or if it reappears after a professional-style repair.
Need a professional touch? Don’t let wall imperfections ruin your room’s transformation. Click here to get a free estimate from Anderson’s Painting and let our experts handle the prep work for a flawless finish!