
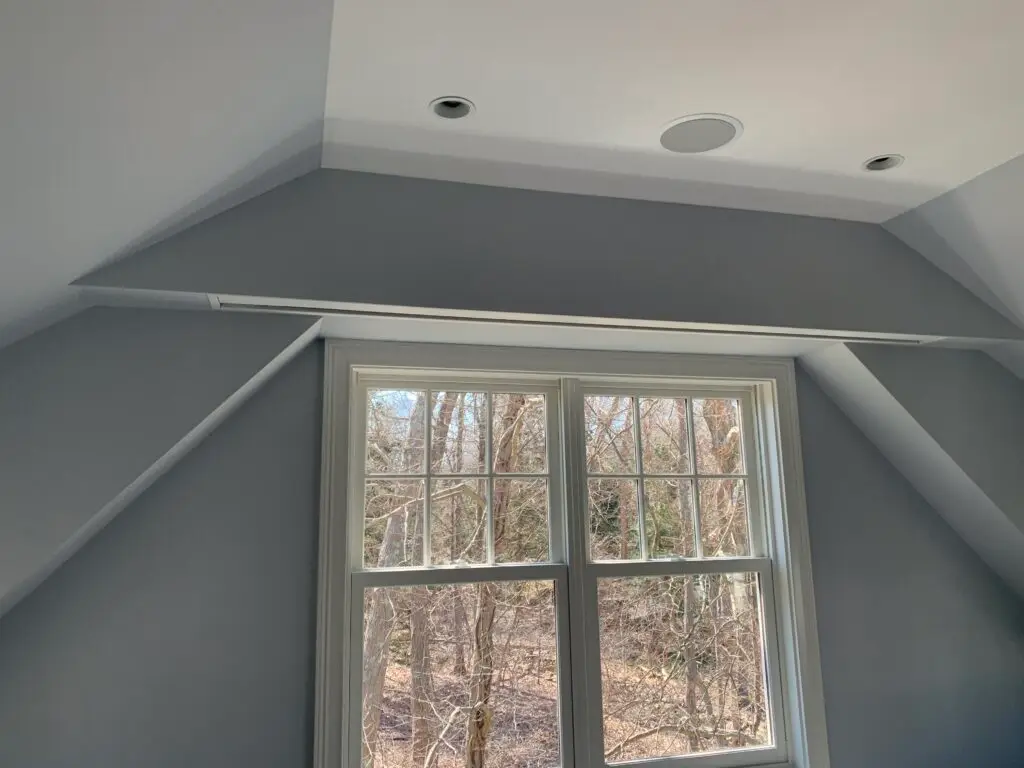
Ready to inject personality into a room without committing to a full overhaul? A feature wall is a fantastic way to add visual interest, define a space, and showcase your style. And the best part? Many impactful techniques are surprisingly easy for DIYers.
Why paint a feature wall?
A feature wall (also known as an accent wall) is a single wall in a room that stands out from the others, typically with a different color, texture, or pattern.
- Visual Interest: Breaks up monotony and adds a focal point.
- Define Zones: Helps delineate areas in open-concept spaces (e.g., a dining nook within a living room).
- Showcase Art/Furniture: Draws attention to a particular piece of art, furniture, or architectural feature.
- Easy Update: A relatively low-commitment way to update a room’s aesthetic without painting all four walls.
- Personalization: Reflects your unique style.
Tools and prep for successful execution
Proper preparation is key to a professional-looking finish, no matter how simple the technique.
- Painter’s Tape: High-quality painter’s tape is essential for crisp lines.
- Paint Brushes & Rollers: A good quality angled brush for cutting in, and a roller with the appropriate nap for your paint type and wall texture.
- Drop Cloths: To protect floors and furniture.
- Cleaning Supplies: Mild soap and water, sponges for cleaning walls.
- Screwdriver: For removing switch plates and outlet covers.
- Level & Measuring Tape: For precise lines and patterns.
- Pencil: For light markings.
- Primer: Especially if going from a dark color to a light one, or if the wall is uneven.
- Paint: Choose high-quality interior paint.
Prep Steps:
- Clear the Area: Move furniture away from the wall.
- Clean Walls: Wipe down the wall to remove dust, dirt, and grease. Let it dry completely.
- Remove Fixtures: Take off switch plates, outlet covers, and any wall decor.
- Tape Off: Apply painter’s tape to the edges of the wall where it meets other walls, ceiling, baseboards, and door frames. Press firmly to ensure a tight seal.
Easy techniques to try
Painter’s tape for geometric patterns
This is a versatile method for creating sharp, modern designs.
- Paint the entire wall with your base color and let it dry completely.
- Use painter’s tape to create your desired geometric pattern (e.g., triangles, chevrons, stripes). Use a level for straight lines.
- Press the tape firmly. For extra crisp lines, paint a thin layer of your base color over the tape edges to seal them, let it dry, then paint your accent color.
- Paint your accent color over the taped pattern. Apply thin coats.
- Remove the tape while the paint is still slightly wet (but not dripping) for the cleanest lines.
Freehand dashes, dots & zigzags
Embrace imperfection for a charming, hand-drawn look.
- Paint the entire wall with your base color and let it dry completely.
- Using a small brush, a sponge, or even a stencil brush, apply dashes, dots, zigzags, or abstract shapes in your accent color.
- For a consistent look, practice on cardboard first. For a more organic feel, just go for it!
- No tape needed, making this a quick and forgiving option.
Stenciled murals
Stencils allow for intricate patterns without advanced artistic skills.
- Paint your base color and let it dry.
- Secure the stencil to the wall with painter’s tape or a repositionable spray adhesive.
- Apply paint (use a stencil brush or a foam roller) in thin layers, dabbing or rolling lightly to prevent bleeding under the stencil.
- Remove the stencil carefully. For large designs, reposition and align as needed.
- Clean your stencil between uses if paint builds up.
Half-painted or ombré walls
These techniques add unique visual boundaries.
- Half-Painted: Paint the bottom half of the wall one color and the top half another. Use painter’s tape and a level for a perfectly straight line across the middle. This can make a room feel taller or add a bold dividing line.
- Ombré Walls: Create a gradient effect where one color subtly blends into another. This typically involves blending multiple shades of paint directly on the wall using brushes, sponges, and perhaps a spray bottle with water. It requires more patience and blending skill than other techniques.
Tips for choosing color and scale
- Color Contrast: Consider the existing room colors. A feature wall should provide contrast but still complement the overall palette.
- Room Size: In smaller rooms, a darker accent wall can add depth. In larger rooms, you have more freedom with bold patterns.
- Pattern Scale: Don’t choose an overly large or busy pattern for a small wall, or it might feel overwhelming. Balance is key.
Check it out: Room color ideas: Inspire your next home refresh
Mistakes to avoid & quick fixes
- Not prepping the wall: Leads to uneven paint adhesion. Clean first!
- Removing tape when paint is too dry: Can cause paint to peel with the tape. Remove while still slightly wet.
- Overloading the brush/roller: Causes drips and runs. Load evenly and don’t saturate.
- Bleeding under tape: Press tape firmly. Paint base color over tape edges before applying accent color.
- Fixing Mistakes: For small bleeds, use a fine artist’s brush and your base paint to touch up. For larger mistakes, let it dry, then lightly sand and repaint.
How to maintain your painted feature
- Gentle Cleaning: Dust regularly with a soft cloth. For smudges, gently wipe with a damp (not wet) cloth and mild soap.
- Avoid Abrasives: Don’t use harsh scrubbers or abrasive cleaners on painted walls.
- Touch-Up Paint: Keep a small amount of your accent wall paint for future touch-ups.
Ready to transform your walls with a stunning feature? Anderson’s Painting handles all types of interior painting projects, from simple accents to full room transformations. Contact us for a free estimate!
Discover easy DIY wall painting ideas—tape patterns, stencils, ombré, and freehand techniques—to add personality and style without professional help.