
Quick Answer: What Is the Proper Way to Prep Walls Before Painting?
The most effective way to prep walls for painting like a professional is to clear and protect the room, wash away surface dust and grease, fill nail holes and cracks with spackle, sand patched areas smooth, caulk gaps around trim, and apply primer to any bare patches before rolling on your final color. Proper wall preparation guarantees a flawless finish that resists peeling and lasts for years.
Why Wall Prep Matters More Than Paint Color
Even the highest-quality, most expensive paint will look uneven and fail prematurely if applied to a poorly prepared surface. Taking the time to properly prep your walls transforms the final result in three critical ways:
Better paint adhesion
Dust, oils, and loose particles act as a barrier between your wall and the fresh paint. Cleaning and sanding create a secure bonding surface so paint grips tightly without bubbling or flaking.
A smoother final finish
Walls are full of tiny imperfections, dents, and old brush strokes. Patching and sanding eliminate shadows and texture inconsistencies so your paint job looks sleek and professional under any lighting.
Longer-lasting interior walls
Addressing cracks, gaps, and moisture stains beforehand prevents structural flaws from bleeding through your fresh coats of paint, protecting your interior investment.
Step-by-Step Wall Preparation
Move furniture and protect floors
Clear the room entirely if possible, or pull furniture to the center and cover it with heavy-duty plastic sheeting. Lay down clean canvas drop cloths (avoid slick plastic on floors) to catch dust and drips. Remove switch plates and outlet covers.
Wash walls and remove residue
Wipe down walls with a sponge dampened in warm water and a tiny drop of dish soap (or a TSP substitute for kitchens). This removes invisible kitchen grease, dust, and hand oils that prevent paint from sticking. Let the walls dry completely.
Fill nail holes, dents, and cracks
Use a lightweight joint compound or spackle and a putty knife to fill all nail holes, minor dents, and hairline cracks. Press the compound firmly into the hole and scrape the putty knife flat across the surface to remove excess spackle.
Sand rough areas and old paint edges
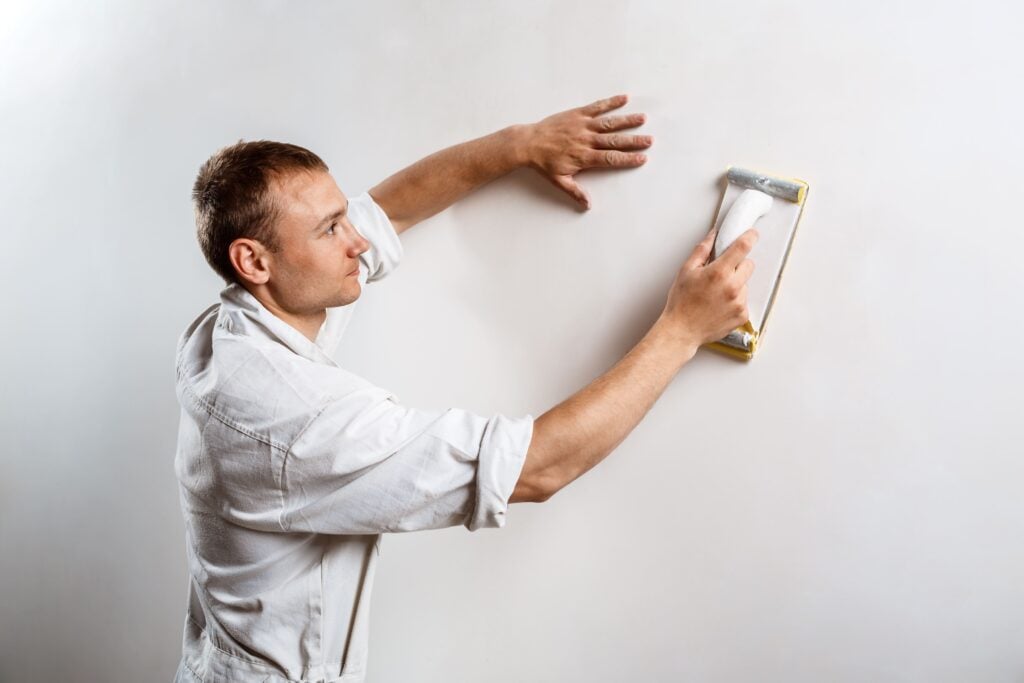
Once your spackle is dry, sand the patched spots until they are completely flush with the surrounding wall. If you are painting over semi-gloss or gloss paint, lightly scuff the entire wall surface with fine-grit sandpaper to give the new paint something to grab onto.
Caulk gaps around trim
Run a smooth bead of paintable acrylic latex caulk along gaps where baseboards, door frames, and crown molding meet the drywall. Smooth it with a wet finger for a seamless transition.
Prime patched or stained areas
Apply a quality primer over your spackled patches and any dark stains or water marks. Skipping this step causes porous patches to absorb paint faster than the surrounding wall, resulting in dull, flat spots known as “flashing.”
Common Wall Prep Mistakes to Avoid
Painting over dust or grease
Skipping the wall-washing step means your paint is bonding to a layer of dust instead of the drywall, leading to premature peeling.
Skipping primer on repairs
Assuming paint has enough coverage to hide unprimed patches will leave uneven, blotchy spots across your finished walls.
Using too much spackle
Applying thick globs of spackle creates extra work during sanding. Always apply thin, even layers and let them dry completely before smoothing.
When to Hire Professional Interior Painters
While DIY wall prep is rewarding, taping, spackling, sanding, and priming an entire home requires significant time and physical labor. If you want a flawless, factory-smooth finish without spending your weekends covered in dust, expert help makes all the difference.
For homeowners ready to upgrade their living spaces, expert professionals ensure every surface is meticulously prepared and painted to perfection. To learn more about proper techniques, explore our guides on How to Prep Drywall for Paint, find out Can You Paint Directly on Drywall?, and learn How Many Coats of Paint for Interior Walls? are needed for complete coverage. When you are ready for exceptional results, explore our expert Residential Painting service page.
Pro tip: Inspect your walls with angled light before painting. Hold a bright work light or flashlight flat against the wall surface in a dark room; any bumps, missed dents, or rough patches will cast long shadows, revealing flaws that need a quick extra pass of sanding before you open your paint can.
FAQ
Do I need to wash walls before painting?
Yes. Washing removes dust, cooking grease, and everyday grime that would otherwise prevent your paint from bonding securely to the surface.
Should I sand walls before painting?
You should always sand patched spackle spots smooth. Additionally, lightly scuffing glossy or semi-gloss walls with fine sandpaper helps the new paint adhere much better.
Do I need primer before painting interior walls?
You need primer over any patched spackle spots, raw drywall, wood repairs, and stubborn stains to ensure uniform color and sheen. If you are painting over clean, previously painted walls with a similar color and finish, a primer-and-paint combo may suffice.
How long should walls dry before painting?
After washing your walls, let them dry for at least 2 to 4 hours (or overnight). After applying spackle or caulk, wait until the manufacturer’s recommended dry time—usually 1 to 3 hours—before sanding or priming.
Can professional painters repair small wall damage first?
Yes! Professional painters routinely handle surface preparation, including filling nail holes, repairing minor drywall cracks, caulking trim, and priming patches as part of a complete painting service.
Request a Professional Painting Estimate
Get a flawless, long-lasting finish without the hassle. Request a professional painting estimate today and let our experts handle every detail from prep to final coat.